WHAT IS EMBROIDERY DIGITIZING?
What is Embroidery Digitizing?
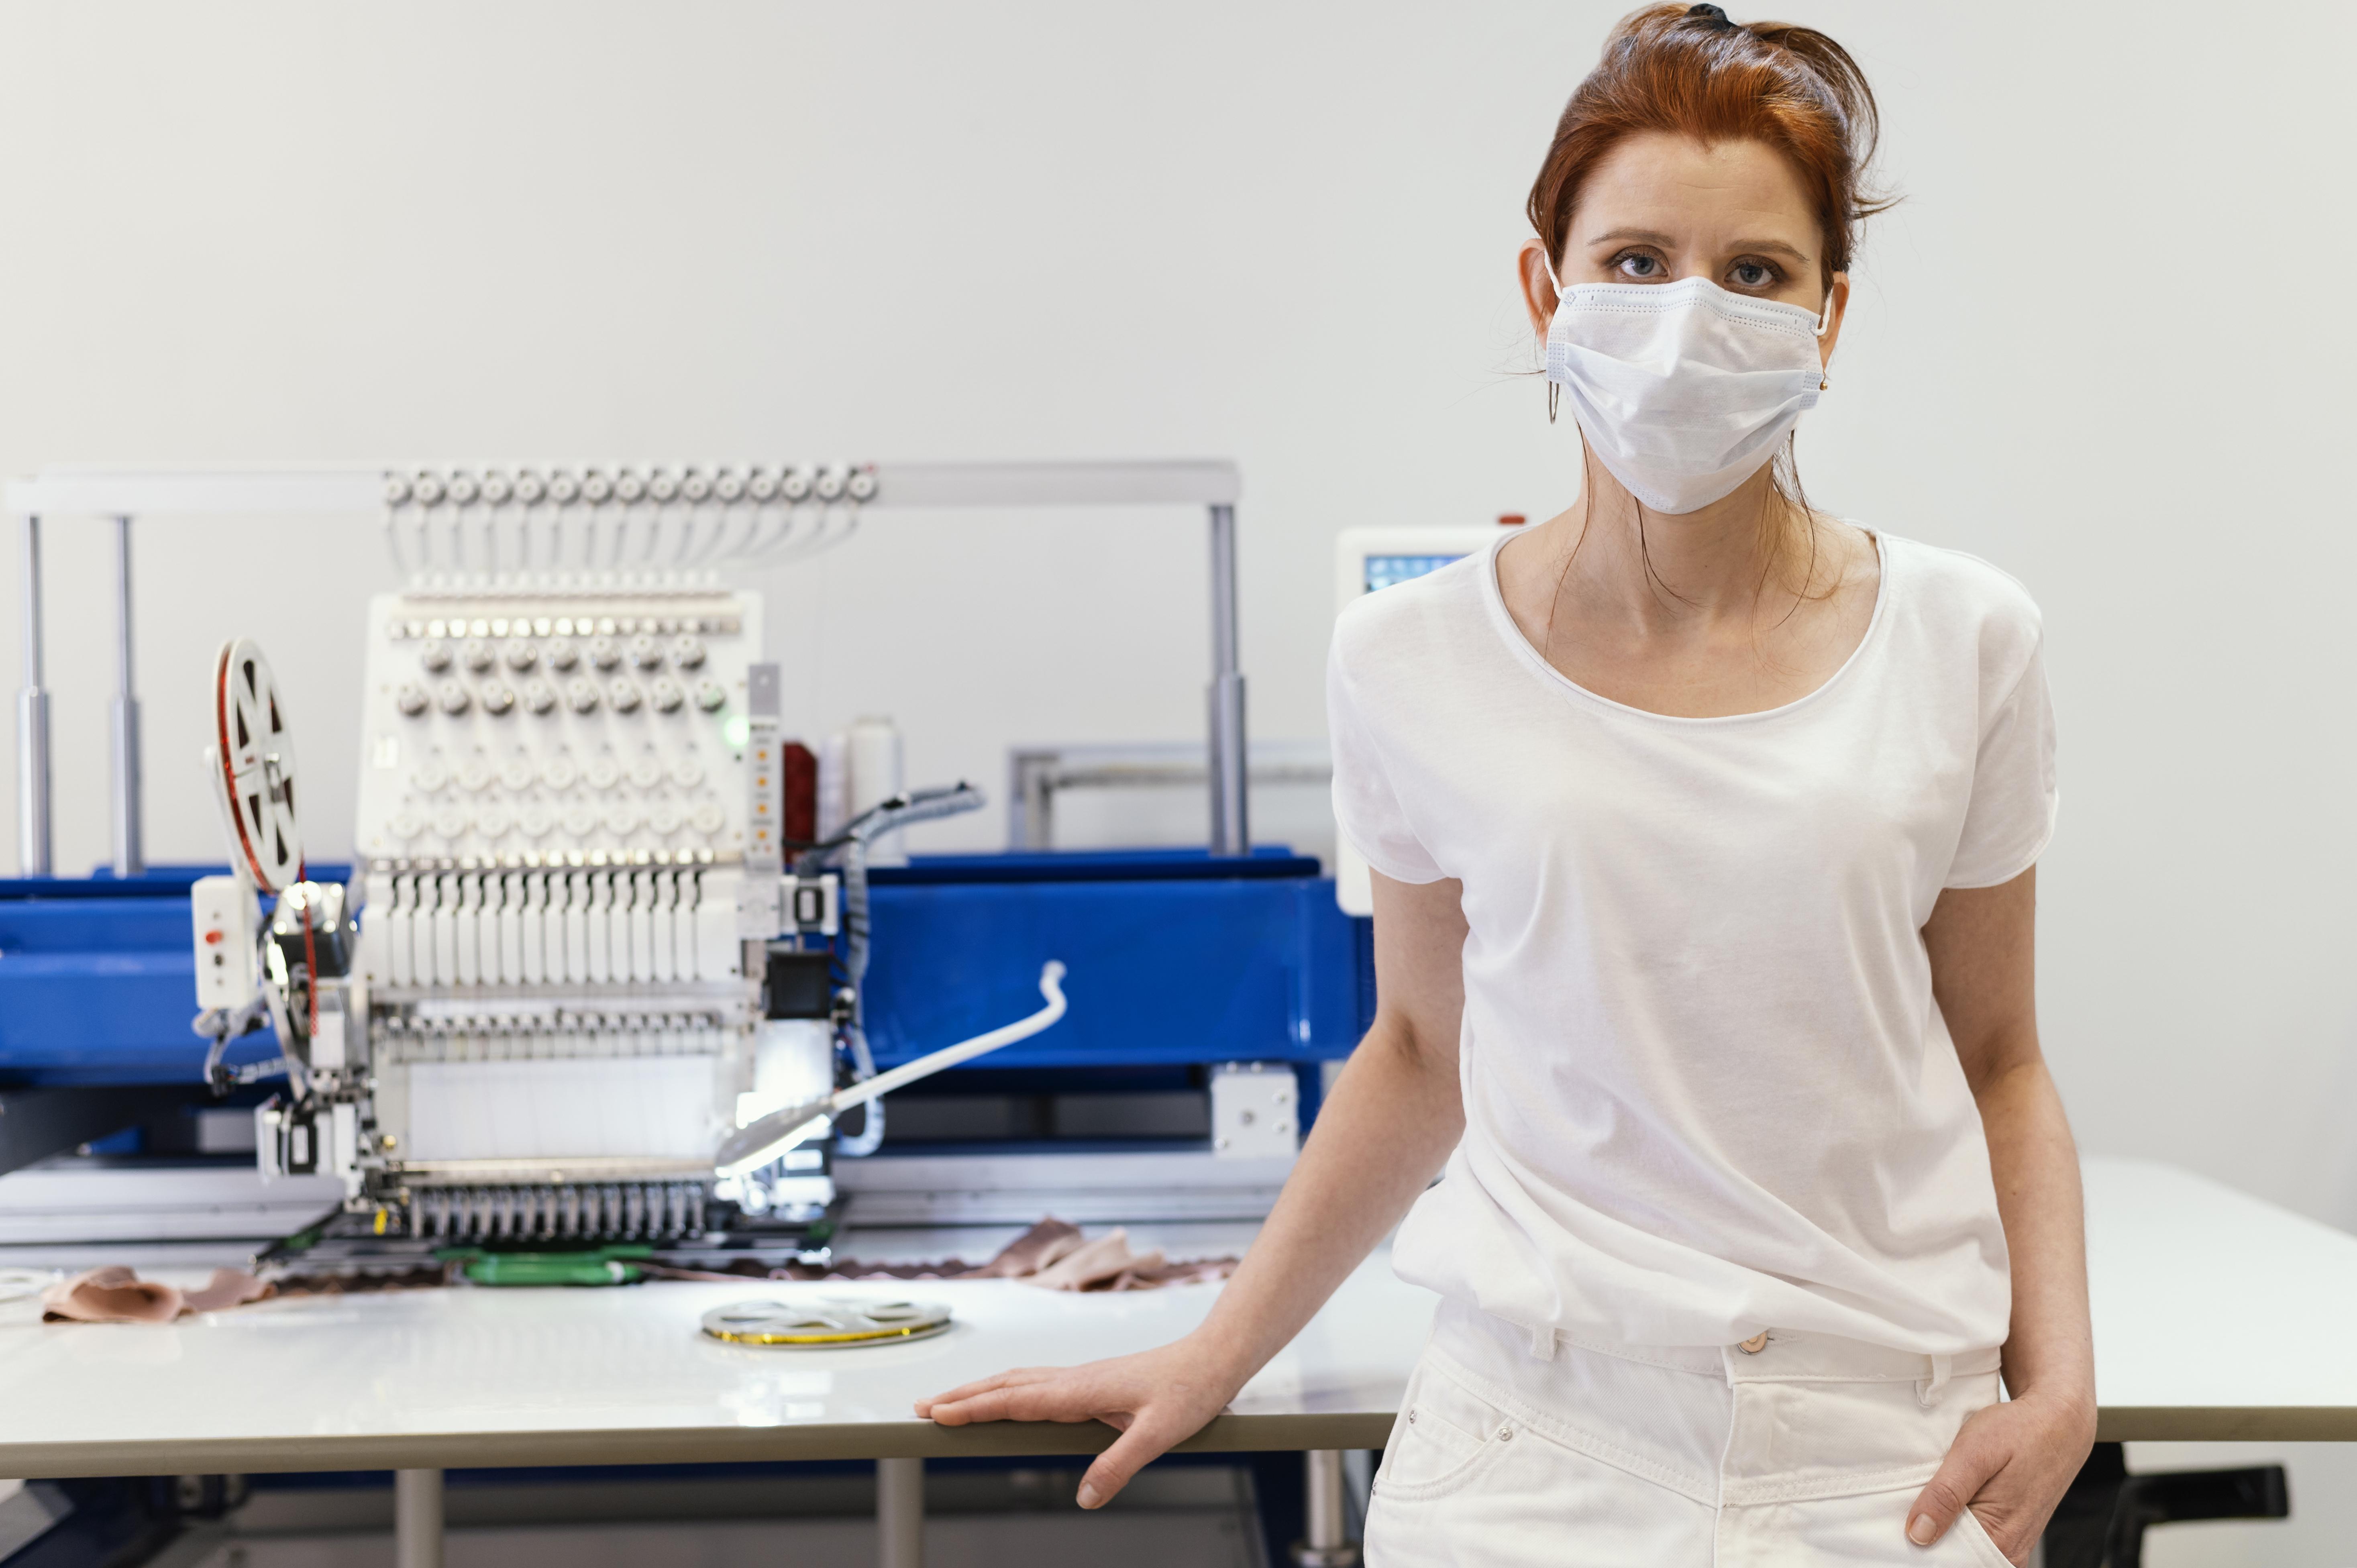
Embroidery digitizing is the process of converting artwork into a digital format that an embroidery machine can read and execute. It involves creating a file that instructs the machine on the precise needle path needed to stitch out the design. Whether you are a fashion designer, an embroidery enthusiast, or a professional embroiderer, understanding the basics of embroidery digitizing is essential.
How to Digitize Embroidery Designs
Before you begin digitizing for machine embroidery, there are a few key things to consider:
Computer Requirements: Ensure your computer can support the embroidery software and is up to date.
File Type Compatibility: Determine the file type your embroidery machine supports. Different machines use different formats, such as:
- .dst: Used by Tajima commercial embroidery machines
- .exp: Used by Melco commercial embroidery machines
- .jef: Used by Janome commercial embroidery machines
- .kwk: Used by Brother commercial embroidery machines
- .dsb: Used by Barudan commercial embroidery machines
- .tap: Used by Happy commercial embroidery machines
Once you have the basics covered, follow these steps to digitize your design:
Step 1: Select Your Artwork Choose any piece of artwork or image you want to turn into an embroidery design. You can also create a design directly in the software.
Step 2: Upload Your Design Upload your design file (e.g., JPG, JPEG, PNG) into the software. Make sure to crop out unnecessary blank space around the image.
Step 3: Resize Your Image Resize your design to the exact dimensions that will appear on your product. Measure the available space for embroidery carefully. You can adjust the size before or after digitizing, but resizing after digitizing can be helpful for detailed or realistic images.
Step 4: Understand Your Fabric The type of fabric you are using affects digitizing. For example, if you are embroidering on a thick cloth like a towel, consider incorporating a knockdown stitch to ensure a smooth surface.
Step 5: Understand Your Embroidery Thread Choose the appropriate thread for your design. For metallic threads, reduce stitch density and avoid small stitches and sharp corners. Adjust thread density based on the weight of the thread; for example, switch from 40-weight to 30-weight thread by reducing stitch density or increasing stitch length.
Step 6: Choose Your Stitch Types Specify the type and angle of stitching for each area of your design. Common stitch types include:
- Straight Stitches: Used for shading, outlines, and detail work.
- Fill Stitches: Used to fill spaces, create textures, and for larger designs.
- Satin Stitches: Used for text, borders, and achieving a shiny look.
Step 7: Test Stitch Out Your Design Always run a test stitch of your design before finalizing it. This allows you to make adjustments as needed.
Tips and Tricks for Digitizing
Start Simple: Begin with basic images and progress to more complex designs as you gain experience.
Don’t Rely on Auto-Digitizing: Auto-digitizing can result in poor design quality. Manual digitizing provides better control and accuracy.
Digitize in the Right Sequence: Follow a logical sequence, stitching small details last and starting from the center for hats to avoid puckering.
Vary Stitch Angles: Use different stitch angles to add depth and dimension to your design.
Minimize Jump Stitches: Reduce jump stitches by adding running stitches between design elements and using the same thread color to keep them inconspicuous.
Conclusion
Embroidery digitizing may seem challenging, but it is crucial for creating high-quality designs. A well-digitized design can significantly enhance the final product, distinguishing it from mediocre ones. For professional digitizing services, you can contact Brooklyn Digitizing.